
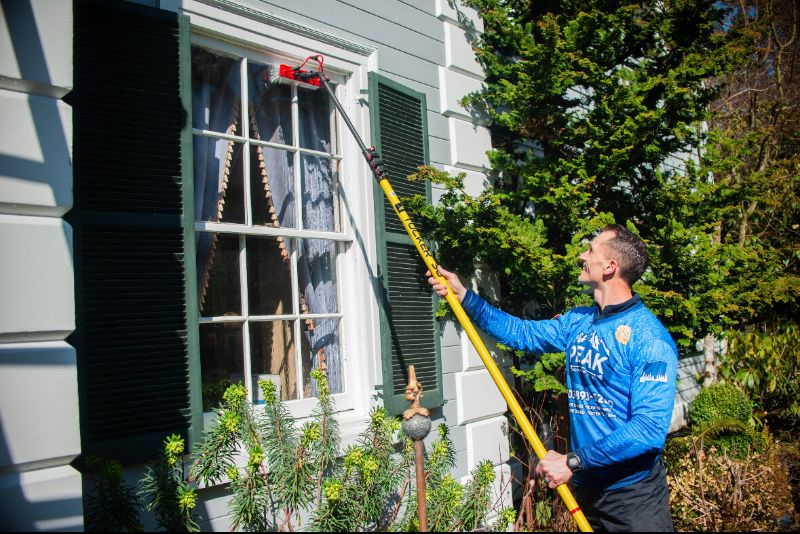
Professional crews protect windows, outlets, and fixtures by combining careful prep work with smart technique adjustments. They remove screens, seal outlets with waterproof covers, and wrap light fixtures in plastic and tape before a single drop of water hits your home. Near glass, they drop PSI below 500 and use a feathering technique to ease off pressure at edges. There’s a lot more to how each step protects your home’s most vulnerable surfaces.
Key Takeaways
-
Screens are removed before cleaning to prevent debris from embedding into frames and causing damage.
-
Outdoor outlets are sealed with waterproof covers or heavy-duty plastic sheeting to block pressurized water entry.
-
PSI is reduced below 500 near glass to prevent seal damage, cracking, or water intrusion.
-
Exterior light fixtures and cameras are wrapped with plastic and tape before cleaning begins.
-
After cleaning, crews inspect windows, outlets, and fixtures for streaking, moisture, or displaced caulking.
What’s Actually at Risk During Exterior Cleaning
Exterior cleaning equipment operates at pressures high enough to strip paint, crack caulking, and force water behind siding—so understanding what’s actually vulnerable before work begins isn’t optional, it’s essential.
A thorough risk assessment identifies the specific surfaces, components, and openings that require surface protection before any water hits your property.
Your windows are vulnerable to seal failure and frame damage. Outdoor electrical outlets can allow water intrusion if covers aren’t properly sealed.
Light fixtures, cameras, and vents create direct pathways into your structure’s interior. Decorative trim, painted wood, and aged caulking all respond poorly to misdirected high-pressure spray.
Even your landscaping faces chemical exposure risk during soft washing applications. Each of these variables demands identification before cleaning begins—not after damage occurs. Additionally, eco-friendly solutions can mitigate potential harm to the environment during the cleaning process.
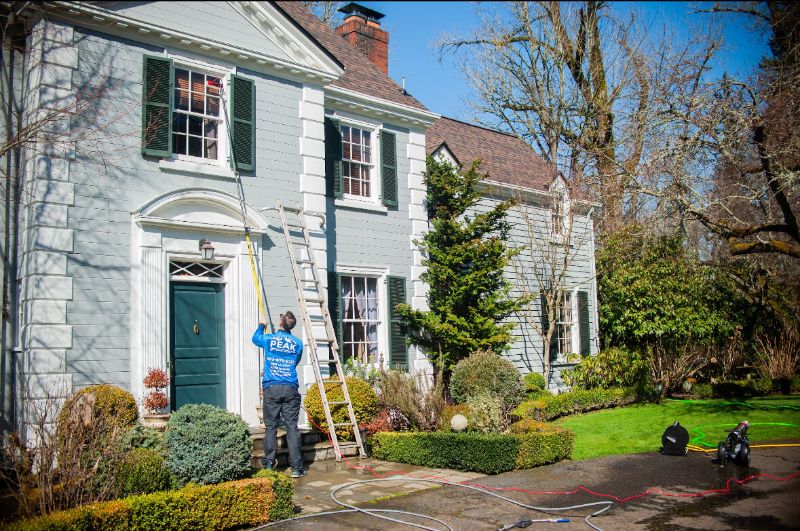
How Crews Prep Windows Before Pressure Washing
Before any water reaches your home’s exterior, crews perform a systematic inspection of every window on the structure. They check each frame for existing cracks, failed seals, and deteriorating caulk lines that increase pressure sensitivity and could allow water intrusion. Any compromised areas get flagged before washing begins.
Window care protocol also involves adjusting equipment settings based on the glass type, frame material, and surrounding trim. Crews lower PSI levels and widen spray angles when working near window surfaces. They position themselves at calculated distances to prevent direct stream contact with glass edges and corners.
If screens are still in place, crews remove them before washing starts. This prevents debris from embedding into the mesh and eliminates the risk of frame damage from misdirected pressure. Additionally, regular house washing can significantly improve indoor air quality by removing harmful mold and mildew, which is especially crucial in Portland’s wet climate.
Keeping Outlets and Electrical Fixtures Safe From Water
Water and electricity create an immediate hazard, so professional crews treat every outdoor outlet, junction box, and light fixture as a priority protection point before washing begins.
For outlet protection, crews use waterproof covers or heavy-duty plastic sheeting secured with painter’s tape to seal openings completely. They inspect each cover to confirm no gaps exist where pressurized water could penetrate.
Fixture safety follows a similar process. Crews wrap exterior light fixtures, cameras, and doorbells with plastic and tape before directing any water nearby.
They also identify circuit breaker locations in case an unexpected exposure occurs during the job. This thorough preparation aligns with best practices in gutter maintenance strategies, ensuring that all sensitive areas are safeguarded against water damage.
You benefit from this preparation because it eliminates electrical risk while allowing crews to clean surrounding surfaces thoroughly without cutting corners or avoiding difficult areas near sensitive components.
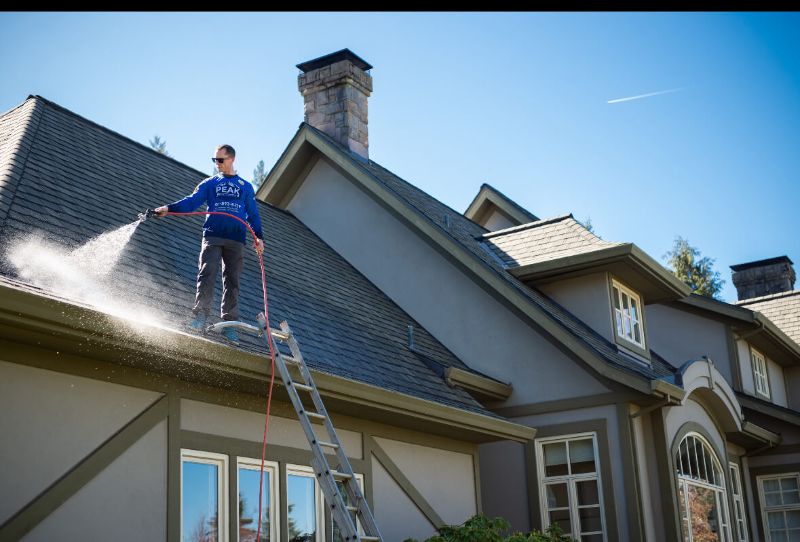
The Role of Plastic Sheeting, Tape, and Soft Covers
Plastic sheeting, painter’s tape, and soft foam covers each serve a distinct protective function during a pressure washing job. Understanding how crews deploy these materials helps you appreciate the precision involved.
-
Plastic sheeting benefits include shielding large surface areas like window frames, vents, and exposed trim from direct water intrusion.
-
Tape application techniques involve pressing painter’s tape firmly along edges before layering sheeting, preventing water from migrating underneath.
-
Soft foam covers protect protruding fixtures—light housings, door handles, and hose bibs—by absorbing impact and deflecting spray.
-
Crews remove all materials immediately after cleaning to prevent moisture trapping beneath covered surfaces. Additionally, they ensure that all windows and doors are securely closed to minimize any risk of water intrusion.
Each material addresses a specific vulnerability. Together, they create a layered defense system that keeps your property’s fixtures intact throughout the entire cleaning process.
How Pros Adjust Pressure and Angle Near Fragile Surfaces
When working near glass or fragile fixtures, you’ll want to drop your PSI considerably—often below 500—to prevent cracking, etching, or seal damage. You also angle the spray away from window edges and fixture gaps rather than driving water directly into vulnerable seams. On surface changes and borders, you feather the pressure by gradually easing off the trigger, letting you clean thoroughly without concentrating force where materials are most susceptible to damage. Additionally, understanding the importance of seasonal maintenance can help in planning safer cleaning routines for these delicate areas.
Reducing PSI Near Glass
Glass is one of the most pressure-sensitive surfaces a crew encounters during exterior cleaning, and professional operators adjust both PSI and nozzle angle before they get anywhere near a window.
Proper glass safety depends on deliberate pressure adjustments made before any water contacts the surface.
Crews follow a precise protocol:
-
Drop PSI to 500–800 range before approaching window frames
-
Switch to a 40-degree white-tip nozzle to widen and soften the spray pattern
-
Maintain a minimum 18-inch standoff distance from the glass surface
-
Direct spray at a downward angle to prevent water intrusion behind frames
These steps prevent cracking, seal damage, and water infiltration.
You can’t reverse a compromised window seal, so controlled pressure adjustments aren’t optional—they’re standard operating procedure.
Angling Spray Away From Fixtures
Exterior fixtures—light housings, electrical conduit covers, decorative trim, and plastic vents—crack or dislodge when crews angle spray directly at their faces or edges.
Professionals redirect water flow by positioning the nozzle at a downward, oblique angle, typically between 30 and 45 degrees, so pressure travels across surfaces rather than into seams or mounting points.
Effective spray techniques require constant adjustment as you move across varied surface zones. Near fixture edges, crews shift to a wider-fan nozzle—typically a 40-degree tip—reducing concentrated force while maintaining cleaning velocity.
Nozzle selection directly determines how impact distributes across fragile materials. You avoid forcing water beneath gaskets or behind mounting brackets by keeping lateral movement consistent and never pausing the stream directly over a fixture’s face or perimeter joint.
Feathering Pressure on Edges
Redirecting spray away from fixtures handles one layer of the problem, but edges demand an additional technique—feathering. Using pressure control and the feathering technique, professionals gradually reduce spray intensity as the wand approaches vulnerable boundaries.
Here’s how the feathering technique works in practice:
-
Start full pressure at the center of the surface, away from edges.
-
Begin reducing pressure approximately 12 inches before reaching a window frame, outlet, or fixture.
-
Widen the spray angle as you approach, dispersing force across a broader area.
-
Complete the pass with minimal pressure directly at the edge boundary.
You’re fundamentally tapering force rather than cutting it abruptly. This prevents water intrusion, seal damage, and surface cracking that sudden pressure shifts commonly cause near fragile edges.
What to Expect After the Job Is Done
Once the cleaning crew wraps up, you’ll notice a few immediate changes worth paying attention to. Surfaces will appear visibly brighter, and previously obscured textures on siding, concrete, or trim will re-emerge.
Conduct a post-cleaning inspection by walking the perimeter and checking windows for streaking, outlets for moisture intrusion, and fixtures for any displaced seals or caulking.
If something looks off, document it immediately and provide customer feedback directly to the crew supervisor before they leave the site. Reputable companies like Peak Pressure Washing expect this step and treat it as a standard part of project completion.
Allow treated surfaces adequate drying time before touching or re-engaging any covered components. Most exterior surfaces fully dry within two to four hours under normal conditions.
Frequently Asked Questions
Should I Remove Window Screens Before the Crew Arrives?
You don’t have to, but removing screens beforehand offers clear screen removal benefits — better access, thorough cleaning, and reduced risk of damage. It’s a simple window screen maintenance step that helps the crew work more efficiently.
Can Pressure Washing Void My Window Manufacturer’s Warranty?
Yes, it can. You’ll want to review your window manufacturer’s warranty implications carefully, as many specify pressure washing guidelines that prohibit direct high-pressure application to seals, frames, or glass to avoid voiding coverage.
How Long Should I Wait Before Opening Windows After Cleaning?
Wait at least 2–4 hours before opening your windows. Follow these window ventilation tips: let surfaces dry completely, then check seals. Factor this into your cleaning schedule suggestions to avoid trapping moisture or contaminants inside.
Do Crews Protect Indoor Furniture Near Open Windows During Washing?
Crews don’t typically handle indoor furniture protection—that’s your responsibility. Before washing begins, you’ll want to move furniture away from open windows. Their cleaning techniques focus on exterior surfaces, making indoor furniture protection your proactive step.
Will Cleaning Solutions Leave Residue on My Window Frames?
Professional crews won’t leave residue on your frames. They select appropriate cleaning solution types for each surface and rinse thoroughly, ensuring proper window frame maintenance by removing all chemical traces without damaging seals or finishes.
Conclusion
When you work with a trained crew, you’re getting more than surface-level cleaning. Every outlet gets sealed, every window gets assessed, and every fixture gets shielded before water ever hits your exterior. Professionals adjust pressure settings, control spray angles, and remove protective coverings only after surfaces dry completely. You’re not leaving your property to chance — you’re following a documented, repeatable process that keeps vulnerable components intact from the first pass to the final inspection.